Monday, May 30, 2011

Lenticulars - Interlacing with SuperFlip

SuperFlip is a free lenticular software available from vuethru. If you can't read the help file on your computer, I've taken the liberty to convert the help file into a pdf file that you can download here: SuperFlip manual.

We are gonna go through all the steps to create and print a 3D interlaced image from a left and right image (taken, for example, by the Fujifilm Finepix Real 3D W3 digital camera).

Start SuperFlip and add your left and right images (left first, right second). They should be at the correct aspect ratio.

Click on "Process" to get into the "Process Setup Dialog" box.

"Line Screen (LPI)": enter the result of your pitch test for your printer, paper, lenticular lens combination.

"Width" and "Height": enter the width or height you want (the other dimension will be calculated automatically if "Preserve Aspect Ratio" is checked) or you can click on "Calculate Output Size from Input Size" if the images are already at the correct size. If you plan on putting alignment marks, make sure you account for that because they are added when you actually print (see below).

Uncheck "Resample Output with banding eliminator".

Check "Alignment Marks". Click on "Alignment Mark Options" to check or modify the width of the alignment bands. You must take those into account when you set the width/height of the interlaced image. It's easier to mount the interlaced image to the lenticular lens when you have alignment marks but it's not necessary.

Uncheck "Color Separations".

"Number Images": 2.

Check "Preserve Aspect Ratio".

Uncheck "Use Separators".

"Interlace Direction": check "Vertical".

Click on "Process". You should be taken to the "Resolution Enhancement" window. Choose the highest starred enhancement level and click "OK Enhance!".

Save the tif interlaced image and if it looks ok, click "Print" in SuperFlip (select some kind of photo paper and the best print quality). If you are printing on 6x4 photo paper, you probably will have to select "6x4 borderless" and then, the printer may automatically select "landscape" depending in which direction the 6x4 photo paper is fed to the printer (that's the case for my HP Officejet printer). I don't particularly like the idea of printing interlaced pictures in landscape mode so I don't use 6x4 photo paper but it may work for you. In all cases, make sure you let the paper dry before doing any kind of manipulation.
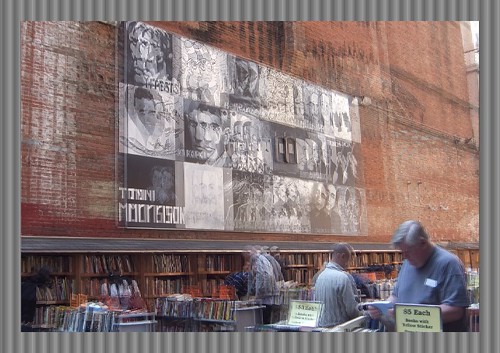
SuperFlip 3D interlaced

This is what the interlaced image should look like with the alignment marks all around. The stereo window has been set at about the level of the 1st "$5 Each" sign (you can easily tell because it's not fuzzy like the rest of the picture). This is the Brattle Book Shop in Boston, one of America's oldest and largest used book shops.

All that's left now is to mount the printed interlaced image onto the lenticular lens.
Sunday, May 29, 2011

Lenticulars - Pitch Test with SuperFlip

Lenticulars are in my opinion the best way to view 3D pictures (taken for example with a Fujifilm Finepix Real 3D W3 camera). You don't need that much to make your own lenticulars, mainly an inkjet printer and some lenticular lenses (with adhesive attached).

As you probably know, lenticular lenses have a certain number of lenticules per inch (LPI). For 3D comfortable home viewing, it is common to use 60 LPI. You get the 3D effect by printing an interlaced version of the left and right images and placing the lenticular lens on top. The left eye will only see the left image and the right eye will only see the right image thanks to the interlacing and the geometry of the lenticules. In the real world, lenticulars have intermediate images, not just the left and right images but that has no effect on the pitch test, of course.

Before you can even start to think about making 3D lenticulars using an inkjet printer, you need to calibrate the printer, paper and lenticular lens you are planning to actually use. This calibration will determine the proper LPI (lenticules or lines per inch) for your setup.

The first step is to print a line screen test using SuperFlip from the fine folks at vuethru:
- click on Utilities->Print Line Screen Test...
- input a proper "starting lines per inch"
- select "just doublet"
- print
In the printer "Properties...", select something that looks like photo paper, set the print quality to best and use portrait orientation. Of course, you have to print on good photo paper! You are also supposed to use the same paper for the pitch test and the actual interlacing of your image sequences because the pitch test is affected not only by the printer itself but also the paper.

What's a proper starting lines per inch (LPI)? Well, personally, I choose the LPI of my lenticular lens minus a few cents. For example, if my lens is 60 LPI, I am gonna start at 59.96 and go from there depending on the results given by that first print.

It's a bit hard to explain how to actually do the pitch test once the line screen test has been printed but the following video explains the process quite well (It's actually quite simple.):


The key is to put down the lenticular lens at an angle and then rotate it slowly until you see the solid bands. In my case (60 lpi lenticular and hp officejet pro 8000 printer), the lines 60.02 to 60.06 produce the best flips so 60.04 is probably the correct lpi to use in the interlacing process. The whole process is a bit harder when you have lenticular lenses on the smaller side, like a 4x6 lens for example. Bigger lenses, like a 8x10, produce more accurate results.

Check the Creating and Using a Pitch Test by microlens for another interpretation of the pitch test.

Tuesday, May 24, 2011

Fujifilm Finepix Real 3D W3 - Stereo Window and Parallax

When you view a 3D picture in the autostereoscopic LCD screen of the Fujifilm 3D W3 digital camera, the screen itself is the stereo window. The term "stereo window" is used extensively in 3D stereo photography and it's a good idea to know a little bit about it. It's a real big deal when mounting Realist format (or other format) slides, especially for stereo projection.

When you take a picture and "auto parallax control" is on (it's the default), as you press the shutter button half-way and focus on whatever object is in the middle of the frame, the parallax adjustment is made (automatically) such that this object is positioned right at the stereo window. Keep in mind that you can always focus (and set the parallax) and then re-frame while the shutter button is half-way pressed (it's called "focus lock").

When you adjust the parallax while viewing your 3D picture on the LCD screen, depending in which direction you press the button, things seem to be moving either towards you (possibly past the stereo window) or away from you. The question is: What's the proper parallax for my 3D pictures?

Usually, and as a starting point, it's a good idea to have the nearest object right at the stereo window. In stereo slide mounting, it's referred to as "near point" mounting. But what makes 3D stereo photography so spectacular is to have objects "pop" in front of the stereo window. Keep in mind though that you absolutely cannot have something in front of the stereo window that's clipped by the frame or screen. It's a cardinal rule of stereo photography that should never be violated as our poor brain cannot process too well the idea of an object being clipped by a window that appears to be actually behind that object.

When you play with the parallax button, you are simply moving the two "frames" closer or further apart. In stereo slide mounting, it's like moving the two film chips horizontally in the mount. You can see the left and right images slide (either in or out) as you keep the parallax button pushed. Note that when the two images coincide at a given object/point, that object/point should appear to be in the plane of the LCD screen, aka the stereo window, when the image is rendered in 3D. As the manual says, it's never a good idea to have too much parallax, so don't slide those images too much apart!

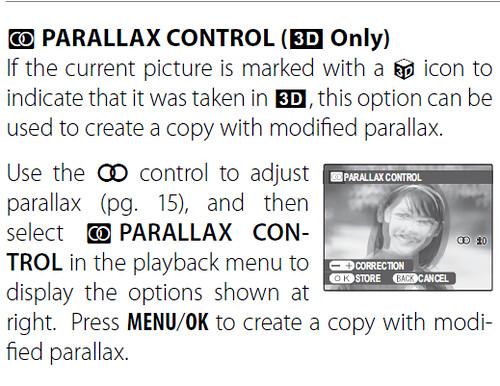
If you change the parallax of a 3D picture you are currently viewing and want to "save" the parallax settings, you need to do the following:

fujifilm finepix real 3d w3 parallax


So, technically, it's not a "save" but rather a "copy", which is a good thing since you will always have the original parallax settings for that 3D picture (until you actually delete it).

Note that the parallax can also be adjusted off camera, in StereoPhoto Maker, for example.

Sunday, May 8, 2011

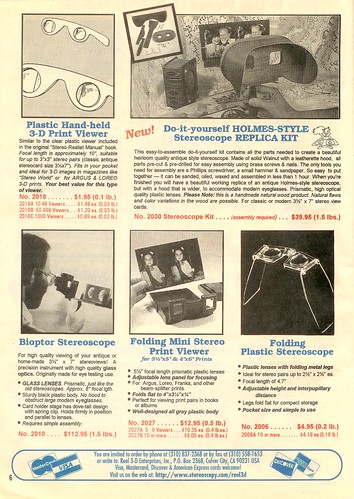
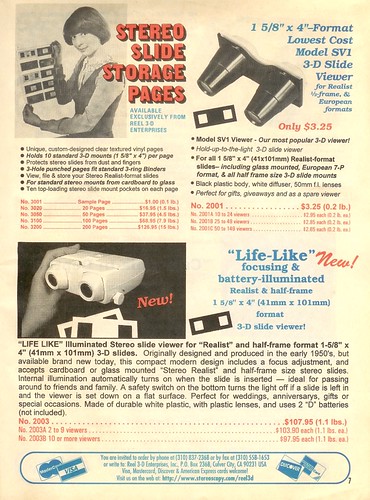
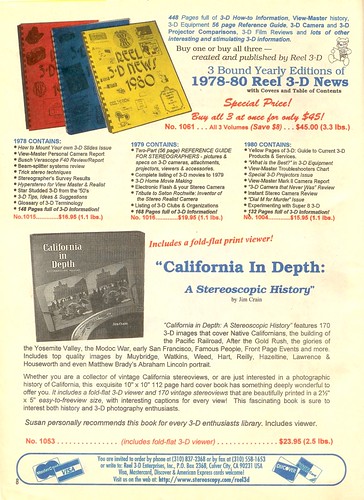
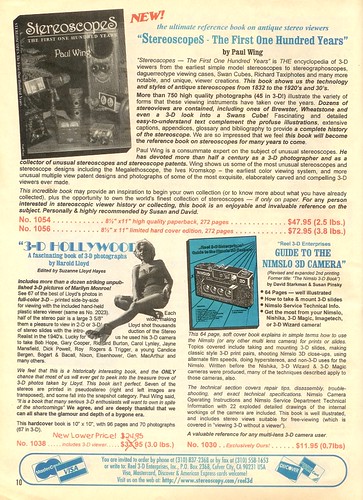
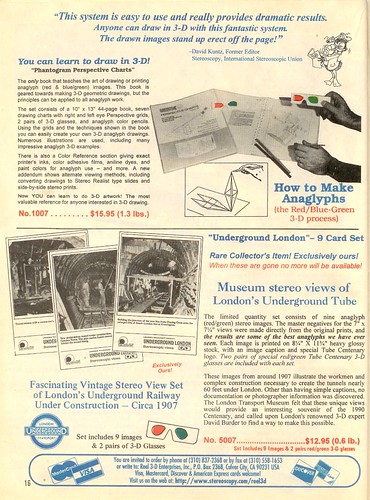
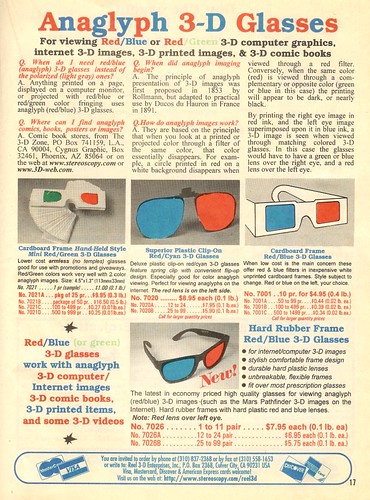
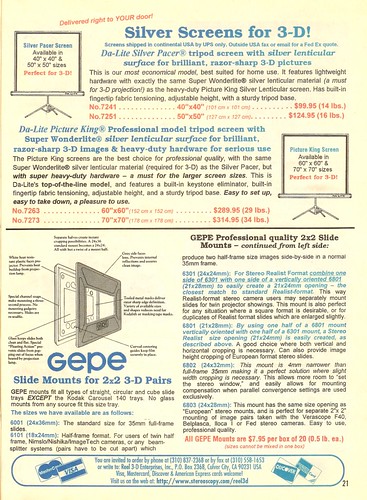
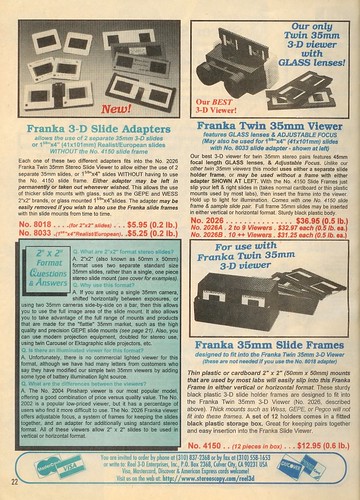
Reel 3-D Catalog 1998

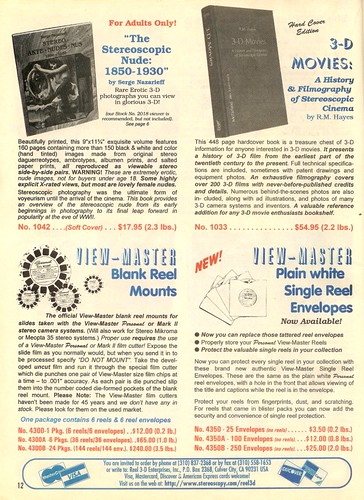
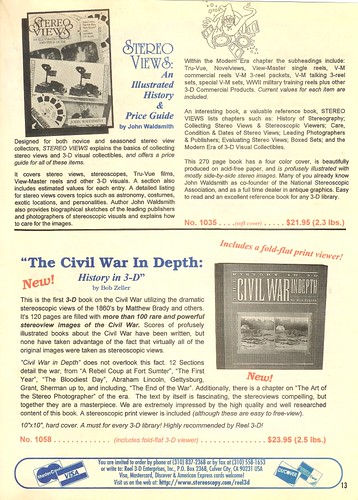
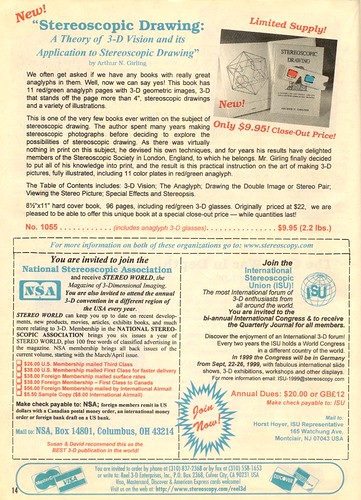
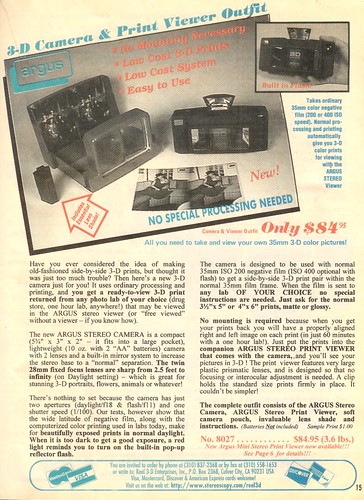
This is the 1998 catalog from "Reel 3-D Enterprises", once the premier supplier of everything stereo (3-D). These days, "Reel 3-D" only sells to dealers and is not online anymore as a business. The catalog has lots of basic info about stereo photography and it shows all the goodies that were available to amateur stereo photographers back in 1998 (when digital stereo photography was still just a dream). Not really sure where you can get what's shown in the catalog these days but a pretty safe bet would be ebay (and the dealers that "Reel 3-D" is talking about).

Reel 3-D catalog cover


Dear 3-D Friends
Dear 3-D Friends


Do you have a Question about 3-D Photography?


Easy to Use 3-D Mounting Supplies


Easy to Use Stereo (3-D) Slide Mounts


Stereo (3-D) Viewers


Stereo Slide Storage Pages and Stereo (3-D) Viewers


Books about Stereo (3-D) Photography


Books about Stereo (3-D) Photography


Books about Stereo (3-D) Photography


Books about Stereo (3-D) Photography


Books about Stereo (3-D) Photography and View-Master Reels


Books about Stereo (3-D) Photography


Books about Stereo (3-D) Photography


Argus 3-D Camera and Print Viewer Outfit


Books about Stereo (3-D) Photography


Anaglyph 3-D Glasses


Projector Lamps and Polarizing Filters for 3-D Projection


Polarized 3-D Glasses


Halogen Bulb for Battery Stereo Viewers


Silver Screens for 3-D and Gepe Slide Mounts for 2x2 3-D Pairs


Franka 3-D slide Adapters, Twin 35mm Viewer, and 35mm Slide Frames


Twin 35mm Viewers
Twin 35mm Slide Viewers


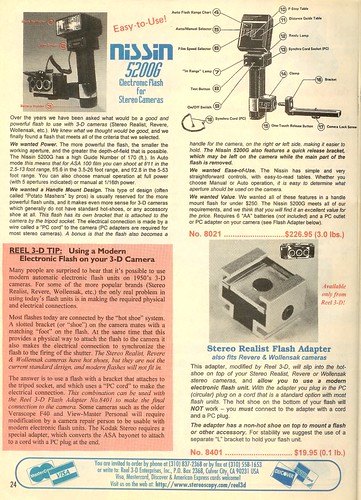
Nissin Electronic Flash for Stereo Cameras


Stereo Instruction Manuals


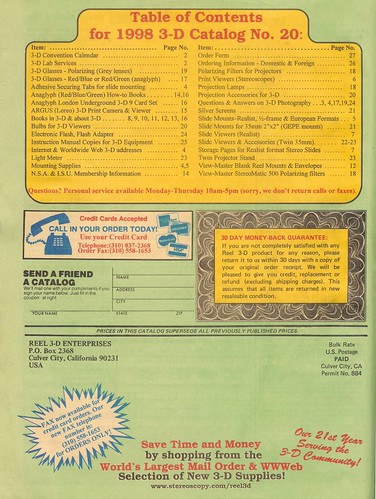
Table of Contents for Reel 3-D Catalog

Tuesday, May 3, 2011

Fujifilm Finepix Real 3D W3 - Viewing/Sharing Movies

Recording movies is quite easy with the Fujifilm Finepix Real 3D W3, it's the viewing and sharing that's a bit difficult when you don't have a 3D TV.

MyFinePix Studio, the software that came with the camera (which you can get on the Fujifilm website as well), is supposed to allow you to view and edit your movies but, to be honest, I could not get it to work on my HD movies (1280x720 16:9).

No worries because there is StereoMovie Maker that's available for free. After having installed StereoMovie Maker, you will probably be told that it cannot open any of your movies. It's because you don't have the motion jpeg (mjpg) codec installed on your computer. Google "motion jpeg codec" and you should be able to grab one, hopefully for free. Personally, I am using "motion jpeg codec 3.2.4" from free-codecs.com but I have the bad feeling it's just a demo. There's also a mjpg codec from morgan-multimedia.com but that one is definitely a demo.

Update on mjpeg codecs: forget about all those demo mjpeg codecs! All you need is ffdshow. A big thanks to David Kesner of the fuji3d yahoo group and dddphotography. Install the ffdshow codec, open the "VFW configuration" screen, select the "Decoder" tab, select "Codecs" in the list on the left, search for the "MJPEG" format in the list on the right, and change its "Decoder" to "libavcodec". The ffdshow codec has been around for a while, is free, and is highly recommended for all kinds of video formats, not just mjpeg.

StereoMovie Maker is real easy to use and there's a pretty good html manual that comes with it so there's no need here to delve into what each button does.

StereoMovie Maker has very basic editing capabilities as it appears that it can trim a movie (actually, it doesn't cut anything, it just moves the start and/or end markers, meaning that it only trims when you save) but I don't think it can merge 2 movies together.

It's cool and all to view/edit your movie with StereoMovie Maker but it would be even nicer to put those movies on the web somewhere. That's where youtube comes in with its 3D capabilities (it's pretty recent). So, let's look at how to save movies for youtube and the whole uploading and setting up on youtube.

Before you save your movie, make sure to swap the frames so that the Right frame appears on the left and vice versa. It's because the default in youtube for side-by-side viewing is Right-Left (cross-eyed). Technically, you don't really have to switch frames but you have to remember to change the "stereoscopic video options" when editing your video, once it's uploaded (I think). Now, you're ready to save the movie you've just edited: use the "side-by-side" option, pick a video compressor (divx or xvid, for example), configure the compressor so that you have a nice balance between image quality and file size, and press ok.

You should be ready to upload to youtube now. It's just like any other video in terms of uploading but, in order for youtube to know it's actually a 3D video, you need to add yt3d:enable=true and yt3d:aspect=16:9 (if 16:9) to your tags in the video description. That's pretty much all there is to it. When you view the video you have just uploaded, there should be a 3D icon with a drop-down menu where you can choose how you want to view the video (anaglyph, parallel, cross-eyed, and more). There should also be a settings button right next to the 3D button in order to select the definition (remember that the Fujifilm Finepix Real 3D W3 digital camera can shoot movies in 16:9 high definition).


Video I took of backyard birds with my Fujifilm Real 3D W3 camera (featuring a nice stereo window violation). You probably have noticed that there's no 3D button in the embed player. That's because you need to press play in order for the 3D button to show up.

Sunday, May 1, 2011

Fujifilm Finepix Real 3D W3 - Viewing/Sharing Pictures

So, you have been taking pictures with your Fuji Finepix Real 3D W3 camera but you have this lingering question on your mind: how do I view them off camera and share them with the rest of the world? You're probably aware of the software that should have come with the camera called MyFinePix Studio. You can load the MPO pictures you have taken and view them as either anaglyphs or LineByLine (interlaced by row) but there's apparently no way to save the pictures (besides hitting PrtSc and pasting the screen dump into Gimp or Photoshop) and upload them on the web.

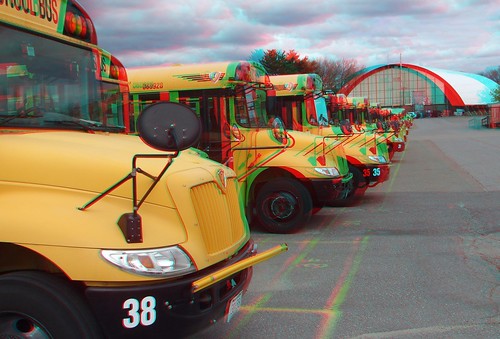
3D stereo anaglyph

Anaglyph obtained from MPO 3D file using MyFinePix Studio via PrtSc and Gimp.

Fortunately, there is stereoscopy.com downloads where you can find all kinds of useful 3D programs and utilities. Let's look into StereoPhoto Maker and see if it can do what we really want: view and save as anaglyph, side-by-side, and possibly wiggle animated gif. Well, it sure can do all that and much more so it's highly recommended in lieu of MyFinePix Studio (sorry Fuji).

3D stereo anaglyph

Anaglyph obtained from MPO 3D file using StereoPhoto Maker. Same result but much easier than MyFinePix Studio.

I personally don't like side-by-side stereo whether it's parallel or cross-eyed on a computer monitor. Can't say I am a big fan of the wiggle animation gif either because, in a lot of cases, it just does not work. My favorite method for displaying and sharing 3D images on a computer monitor remains the good old red-cyan anaglyph but it assumes the person viewing the anaglyph has a pair of glasses (they're easy enough to get though). Yeah, I wish there was a better way to view 3D on the usual computer screen but, unless autostereoscopic LCD displays become the norm, it's gonna be tough for quite some time to share 3D on the internet.

It's nice to display on a computer but sometimes you want something more tangible, something you can hold in your hands. Well, you can print an anaglyph but, in my opinion, it's better to print side-by-side stereo views which can then be viewed with a stereo slide card viewer (you know, the kind of stuff that was so popular in Victorian times). But, in my opinion, the best way to have "hardcopies" of your 3D pictures is with 3D lenticular imaging, mainly because you don't need any glasses or viewer to appreciate the 3D stereo effect, and that's a big plus.

Yeah, I don't have the FujiFilm FinePix REAL 3D V1 viewer (costs a real pretty penny) and I don't have a 3D TV either (might get one at some point with a Blu-ray 3D player), so those viewing options are not discussed here.