
This is the reference image.
Actually, this image is 600 pixels wide but the one I actually worked with is 2960 pixels wide.
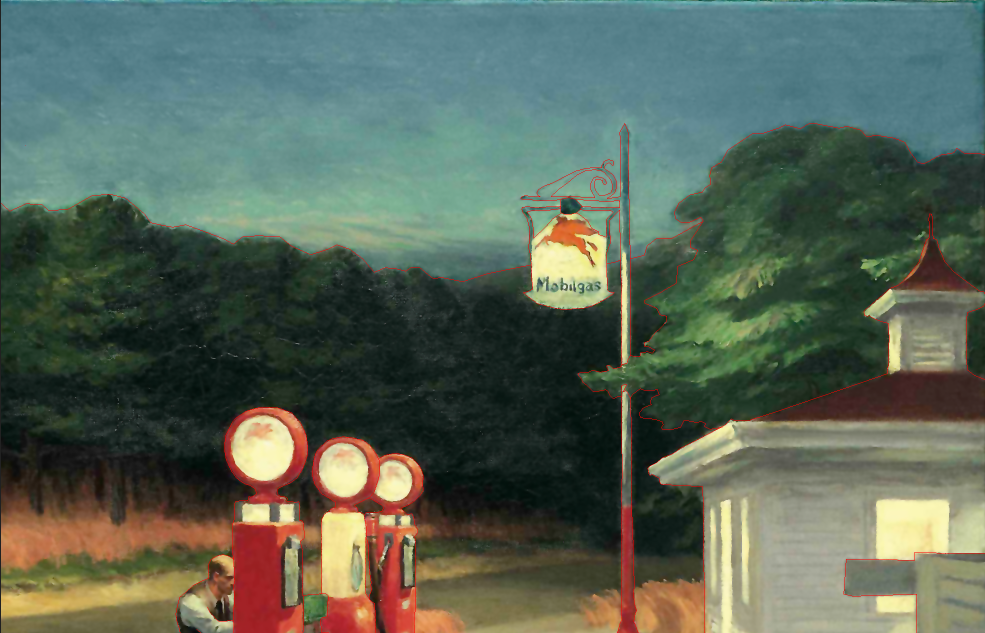
This is of course the painting called "Gas" created by Edward Hopper in 1940.
I am going to use Gimp and 2d to 3d Image Conversion Software - the3dconverter2 to create a dense depth map for that reference image. Feel free to download the Gimp file I created un order perhaps to have a better idea of what I did: edward_hopper_gas.xcf.
The first thing I do is create a so-called "edge image". This will guarantee that the depths will not bleed across objects at different depths. I simply trace over the reference image with the pencil tool using a new layer. I use the pencil tool using the smallest possible brush. The pencil tool needs to be used because it produces aliased lines unlike the brush tool that produces anti-aliased lines. I keep "shift" pressed to draw straight line segments.
Edge image on top of the reference image. Zoomed so that one can see the red line segments of the edge image.
The edge image only contains the red line segments. I am showing the reference image underneath to make it clearer what the edge image contains.
For this type of reference image, it makes sense to use a sparse depth map where the depths on the ground can be easily set with a gradient. I use the free select tool and then the gradient tool on a new layer. Anything that's not the ground needs to be erased with the eraser tool (using Hard Edge option). Once you are done with the sparse depth map, click on "Layer->Transparency->Threshold Alpha..." (click OK) to get rid of semi-transparent pixels. Those come from the gradient tool or any other tool that anti-aliases. Note that you don't absolutely need a sparse depth map, but in this particular case, it would be a mistake not to have one because there is nothing easier than setting depths when you can see the ground. And those depths are gonna help us when we need to create the paths.

Sparse depth map on top of the reference image.
The sparse depth map only contains the grayscale gradient. I am showing the reference image underneath to make it clearer what the sparse depth map contains.
The3dconverter2 needs depth clues (when not given in the sparse depth map) from paths. All is needed is figure out paths where the depth is constant and name the path with the depth. So, for example, if you draw a path and the depth along that path is 128, the path is given the name "128". If there is already a path with that name, gimp is going to add a "#1" to the name, which is totally fine. The3dconverter2 only looks at the first three digits to figure out at what depth the path is. The beauty of using paths is that, if you make a mistake for the depth, that can be easily changed.
Drawing a path is fairly easy. All you have to do is click on the Paths tool and left-click. I recommend clicking on "Polygonal" in the tool options so that the path segments are always straight, which is what we want. So, left-click to add an anchor and left-click + shift to start a new path component. To close a path component, left-click + control.

Gimp paths. The window on the right shows all the created paths.
For this 3d conversion, I created about 30 paths. If you look at the "Paths" window on the right, the name of any given path represents its depth. For each path, all the pixels that make up the path are going to be at that depth in the dense depth map produced by the3dconverter2.
It's time to do some exporting. I export the layer containing the edge image as "edge_rgba_image.png", the layer containing the sparse depth map as "sparse_depthmap_rgba_image.png", and the paths as "gimp_paths.svg".
It's time to run the3dconverter2 and get the dense depth map.

Dense depth map produced by the3dconverter2.
I use depthplayer to get an idea of what the 3d scene actually looks like. Let-click with you mouse to make the 3d scene rotate. Use the wheel to zoom. I like to switch to "Point Cloud" as "Render Mode".
I think Facebook 3D is the best place to share those 3d conversions, but you can also use wigglemaker to create a wobbly animated gif.

Wiggle/wobble created by wigglemaker.
I made a video on youtube that explains the whole process from start to finish, kinda:
If you like the video, please subscribe to my channel. I am begging you.
For more info on the3dconverter2 (including download link), check 2d to 3d Image Conversion Software - the3dconverter2.


