Left image (after rectification).

Right image (after rectification).
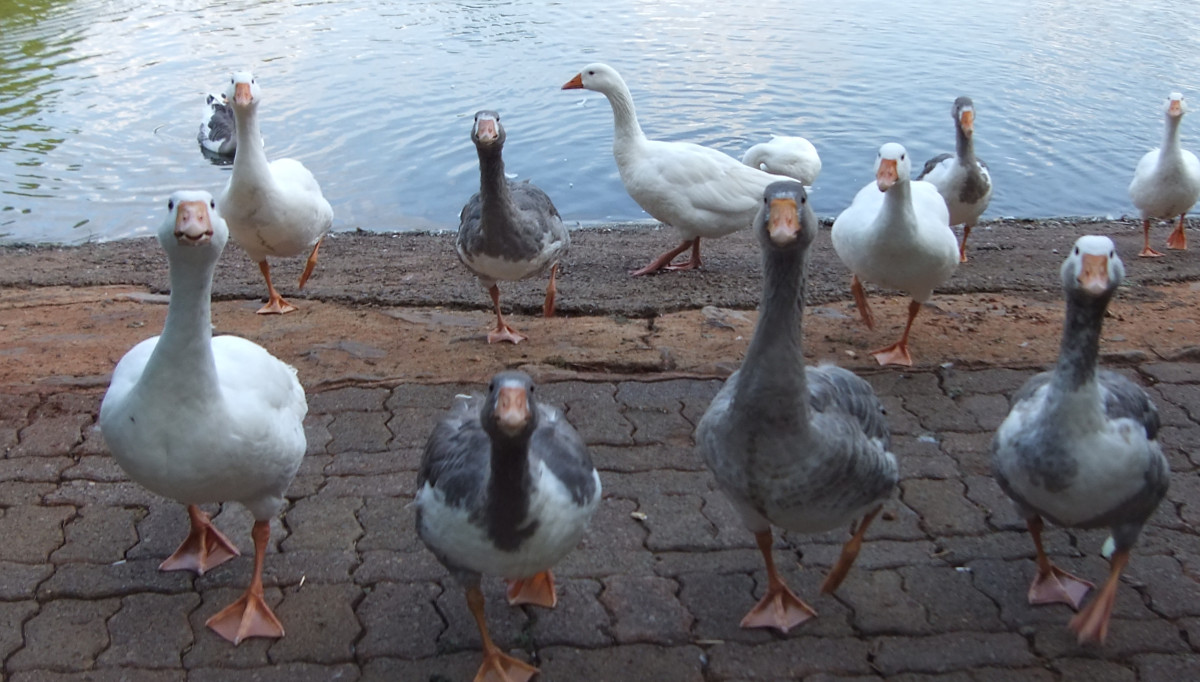
I took the pictures with my Fuji W3, opened the mpo in StereoPhoto Maker, reduced the size to 1200 (in width), and rectified the reduced-size stereo pair with ER9b. Note that ER9b not only rectifies the image pair, it also outputs the min and max disparities for the rectified stereo pair.
Time to get the depth/disparity map. First, I am gonna use DMAG5.

Left depth map obtained by DMAG5.
Input for DMAG5:
min disparity = -10
max disparity = 26
radius = 16
alpha = 0.9
truncation cost (color) = 20.0
truncation cost (gradient) = 10.0
epsilon = 4
disparity tolerance = 0
radius (occlusion smoothing) = 9
sigma space (occlusion smoothing) = 9.0
sigma color (occlusion smoothing) = 25.5
downsampling factor = 1
I guess one could play around with the radius to get different depth maps but this one looks pretty good to me out of the box. There's no need to play with any of the other parameters. If one wants to experiment and see what the other parameters do, I suggest setting the downsampling factor to 2 as it will make DMAG5 go much faster. Once satisfied with a set of parameters, the downdampling ratio can be put back to 1 for better accuracy.
Now, let's get the depth/disparity map with DMAG6.

Left depth map obtained by DMAG6.
Input for DMAG6:
min disparity = -10
max disparity = 26
alpha = 0.9
truncation cost (color) = 20.
truncation cost (gradient) = 10.
truncation cost (discontinuity) = 10000.
iteration number = 5
level number = 5
data cost weight = 0.5
disparity tolerance = 0
radius (occlusion smoothing) = 9
sigma space (occlusion smoothing) = 9.0
sigma color (occlusion smoothing) = 25.5
downsampling factor = 1
I guess one could play with the data cost weight to try to possibly get a better depth although this one looks pretty good. There's no need to play with any of the other parameters.
Not a whole lot of difference between the depth map produced by DMAG5 and the one produced by DMAG6. It's relatively amazing to see that there's not a whole lot of difference between the depth map produced by DMAG5, a local window-based method, and DMAG6, a global method that's based on Belief Propagation (BP).

Animated gif courtesy of "Wiggle Maker".

Shallow depth-of-field simulation (aka miniature faking, diorama effect, and tilt-shift).