With PointConvert3d, you basically load the pieces of the 3d scene as image planes, the nice part being that you don't have to worry too much about maintaining proper perspective because the add-on does it for you. When you move (along the Y axis) a piece of the scene, it is scaled automatically, and when you view the scene head-on, you always see the original 2d image. Every time you load a piece of the scene, you mesh the corresponding object as cleverly as possible and then go to work by moving (along the Y axis) selected vertices. The moving is done via a graph editor.
This is the 2d image we are gonna start with. Using Gimp, I extracted the body, spout, and handle of the coffee pot, as well as the background as png files (to preserve transparency).
This is the body of the coffee pot.
This is the spout of the coffee pot.
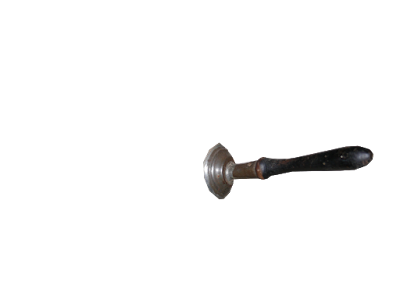
This is the handle of the coffee pot.
This is the background. I have to admit I was a bit lazy on this one but it doesn't really matter as long as the camera doesn't move too much when you animate the 3d scene.
This is the rendered 3d scene. It could be much better but you get the idea.
This is a tutorial on how to use PointConvert3D.
If you are not happy with the mesh after a "convert" (the deformed object doesn't look right no matter how you move the vertices), you need to "Deconvert" it (select the "convert" item in the "group" in the Outliner area), modify the mesh, and then "Convert" it again.
PointConvert3d is pretty cool but it's still not an easy process (depends on the 2d image you start with). Those 3d conversions are neat and all, but unless I get paid royally, I don't think I gonna make too many of those.
Here's a series of slides that explain the whole process of 2d to 3d conversion using PointConvert3D in Blender (courtesy of Pepe from Sevilla):


No comments:
Post a Comment