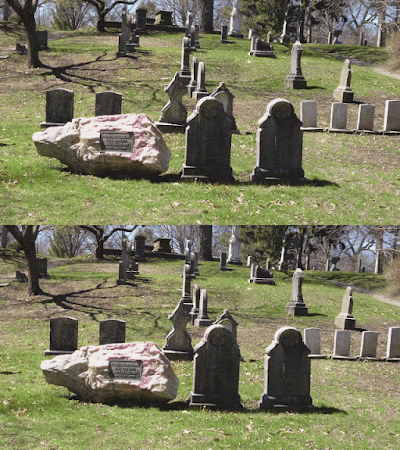
Input: two pictures taken from a mono camera, in this case, extracted from a video taken by an iphone4. The image dimensions are 1920x1080.
Step 1: Rectify the images using Epipolar Rectification 9b (ER9b)
This is the input to ER9b:
IMG_0069_04.jpg
IMG_0069_03.jpg
output_04.jpg
output_03.jpg
10000
step 2: Generate the depth/disparity map using Depth Map Automatic Generator 5 (DMAG5)
This is the input to DMAG5:
output_04.jpg
output_03.jpg
-17
65
disp1.jpg
disp2.jpg
occ1.jpg
occ2.jpg
32
0.9
30.0
10.0
4
0
9
9.0
25.5
2
The min and max disparities were obtained from the output of ER9b. In order to speed up the disparity map generation process, a downsampling factor of 2 was used (instead of 1). The left disparity should be such that white means foreground and black means background. If it appears inverted, the easiest thing to do is to go back to step 1, switch the order of the input images, and recompute the depth maps.
Step 3: Generate the animated gif using wigglemaker
Before attempting to generate the animated gif, it's a good idea to reduce the size of the reference image (left image) and corresponding disparity map.
If you want to generate tweeners (in-between frames) to make a lenticular or another kind of animated gif, Frame Sequence Generator 6 (FSG6) can be used. Now, for FSG6, the right depth map must be such that foreground is white and background is black which is not what DMAG5 outputs. In other words, the right depth map that DMAG5 outputs must be inverted prior to using FSG6.


No comments:
Post a Comment