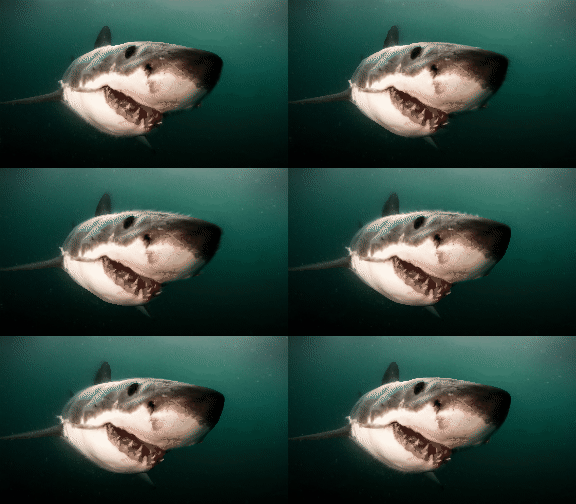
This is what the3dconverter_input.txt looks like:
reference_rgb_image.png
sparse_depthmap_rgba_image.png
dense_depthmap_image.png
gimp_paths.svg
ignored_gradient_rgba_image.png
emphasized_gradient_rgba_image.png
edge_rgba_image.png
0.0
All you need is a reference image (layer reference_rgb_image in great_white.xcf saved as reference_rgb_image.png), an "edge image" (layer edge_rgba_image in great_white.xcf saved as edge_rgba_image.png), a sparse depth map (layer sparse_depthmap_rgba_image in great_white.xcf saved as sparse_depthmap_rgba_image.png), and a bunch of equal_depth and relative_depth paths (saved as gimp_paths.svg). This is all done in Gimp and you can get to those by downloading great_white.xcf.
Don't worry about ignored_gradient_rgba_image.png and emphasized_gradient_rgba_image.png as those are not used and therefore don't need to exist.
The sparse depth map consists of a white blob for the tip of the nose and a black scribble to denote the background. I know it is a bit weird to relegate the water to the background but I don't see any other way to do it. Still, it kinda places the shark in front of the water. Weird, right. For the edge image, I simply traced the outline of the shark using the pencil tool (keeping the shift key pressed so that the line segments are always straight) with the smallest possible hard brush. The purpose of the edge image is to prevent the depths to bleed across object boundaries. The gimp paths are shown in blue. The ones that kinda look like half circles are the equal_depth paths. The ones that kinda connect the equal_depth paths together are the relative_depth paths. What is cool about using gimp paths is that it is very easy to modify them, in particular, it is very easy to change the relative depths between equal_depth paths as all you have to do is rename the relative_depth paths.
The +XX in the name of a relative_depth path indicates the relative depth between the beginning and end of the path. So, if you need to change the relative depth, you just need to change the XX in the name of the path.
Check the 3D effect on Facebook (no need to be registered or logged in into Facebook): Facebook 3D photo. I have got to say that Facebook did an excellent job rendering depth maps with their 3D photos. Clap clap!
This is kinda a trial and error process. So, to help me in visualizing the dense depth map, I use Depth Player. I think it is a great tool. Note that the depth map doesn't have to be too accurate if you just want to post it as a Facebook 3D photo.
Video that kinda explains how to get the input files needed by The3dConverter:


This is a great way to make the depth map, I followed your previous blogs and You-tube 2d-3d conversions. I've started to get interested in 3D stereo but admit I'm lazy and don't spend time drawing depth maps (for Facebook's "wiggleviewer"). I prefer not to use an iPhone. I've demoed stereotaxis but the disparity maps are still jagged. Is there a way to use any of your tools to "post filter" a disparity map? Thanks for making your work accessible to all!
ReplyDeleteI guess you could look at the "3d software" page and look for "Edge Preserving Smoothing" (the EPS programs) and "Depth Map Improvement" (the DMAG9b program). But, to be honest, you really should not have to post process the depth map as it can improve things in some location and make them worse.
DeleteOK, I just looked around the net....SPM w/Google AI or Colab seems to be the direction nowadays. Appears there's a image size limit on the Colab output.
ReplyDeleteYou can try the google mannequin challenge driven 2d to 3d conversion stuff if you don't want to do any hard labor. I have never used it. There's an image size limit probably because anything AI is very very CPU intensive and they probably don't want to swamp their servers.
Delete